
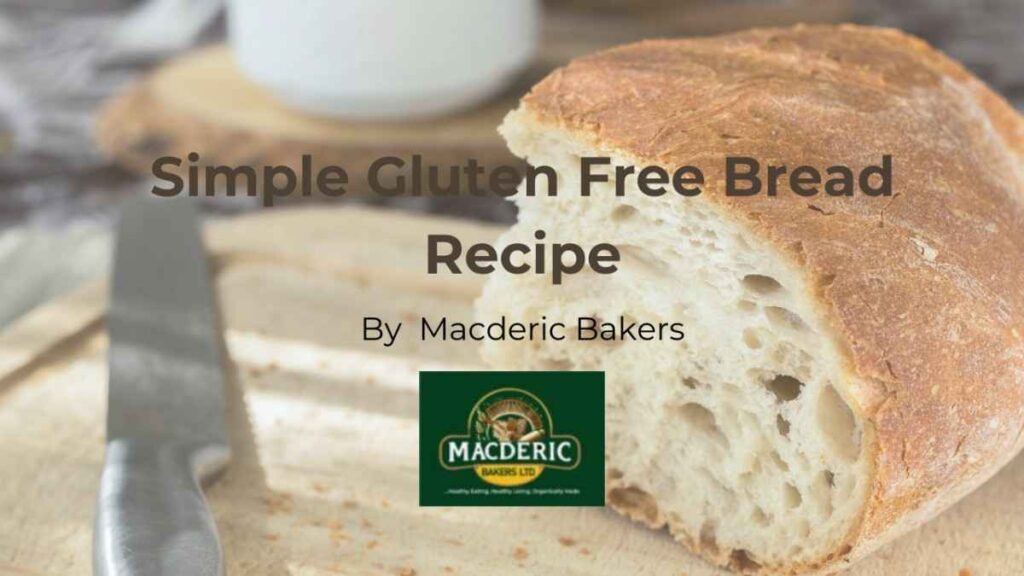
There is nothing quite like the smell of fresh bread wafting through the kitchen. For those of us with coeliac disease or gluten intolerance, however, bread is often the thing we miss the most. We’ve all been there: staring at a dense, brick-like loaf that crumbles the moment you look at it, or paying a fortune for a supermarket loaf that has more holes than Swiss cheese.
As professional bakers at Macderic Bakers here in Albrighton, we know that mastering a gluten free bread recipe is the “holy grail” of free-from baking. It is different, yes, and it can be difficult to master if you try to treat it like standard wheat dough. But with the right science and a bit of patience, you can bake a loaf that is soft, springy, and actually tastes like real bread.
Below, we are sharing our definitive, bakery-tested method. Whether you need a gluten free bread recipe easy enough for a Tuesday night or a gluten free bread recipe for bread maker convenience, we have you covered.
What Makes Gluten-Free Bread Different?
To bake great gluten-free bread, you first have to unlearn what you know about traditional baking. In wheat bread, gluten acts as a stretchy, elastic net. When yeast releases gas, this net traps the bubbles, allowing the bread to rise and hold its shape.
In a gluten free bread recipe with gluten free flour, we don’t have that net. If we just mixed rice flour and water, the gas would escape immediately, leaving us with a flat, hard puck.
To replicate that structure, we rely on a combination of starches and hydrocolloids (ingredients that gel with water). We need to create a batter that is much wetter than wheat dough—more like a thick cake batter than a kneadable dough. This moisture is crucial; without it, your loaf will be dry and gritty. We are essentially building a new kind of scaffolding using gums and proteins to trap that air.
Ingredients Explained (Baking Science Section)
Every ingredient in this recipe fights for a place in the bowl. There is no room for passengers here. Here is why we use what we use:
- Yeast: We use active dried yeast or instant yeast. Even without gluten, yeast provides the flavor and the lift. It needs warmth and sugar to activate.
- Psyllium Husk: This is the game-changer in modern gluten-free baking. It is a soluble fiber that absorbs a massive amount of water, creating a gel-like structure that mimics gluten’s elasticity. It makes the dough handleable and the crumb chewy rather than crumbly.
- Xanthan Gum: Think of this as the “glue.” While psyllium provides structure, xanthan gum ensures the crumb holds together so your sandwich doesn’t fall apart in your hands.
- Gluten Free Flour Blend: We recommend a blend that includes rice, potato, and tapioca starches. A high-protein blend (often sold as “bread flour”) is best.
- Vinegar (Apple Cider): This provides an acidic environment which helps the yeast work better and gives a slight boost to the structure of the loaf.
- Sugar: This isn’t for sweetness; it is food for the yeast. Without it, the yeast will struggle to produce enough gas to lift the heavy gluten-free flours.
- Eggs: These provide protein (structure), fat (richness), and emulsification (texture). They help the bread rise higher and stay soft.
- Oil: Fat coats the starch molecules, keeping the bread softer for longer.
Ingredients List
For the best gluten free bread recipe UK bakers can rely on, please use a digital scale. Cups are notoriously inaccurate for baking, especially with fine gluten-free flours.
The Dry Mix:
- 450g (approx. 3 ½ cups) Gluten Free White Bread Flour blend
- 15g (2 tbsp) Psyllium Husk powder (not whole husks)
- 1 tsp Xanthan Gum (even if your flour blend has it, add this for bread)
- 1 tsp Salt
The Yeast Mix:
- 400ml (1 ¾ cups) Warm Water (lukewarm, not hot)
- 2 tsp Sugar or Honey
- 10g (2 tsp) Dried Active Yeast
The Wet Mix:
- 2 Large Eggs (room temperature), whisked
- 1 tsp Apple Cider Vinegar
- 3 tbsp Vegetable Oil or melted butter
Step-by-Step Instructions
Follow this gluten free bread recipe with yeast carefully. Do not rush the rise!
1. Activate the Yeast
In a jug, mix the warm water and sugar. Sprinkle the yeast on top and whisk gently. Leave it in a warm spot for 10-15 minutes until it is frothy and bubbly. If it doesn’t bubble, your yeast is dead—start again or your bread will be a brick.
2. Mix Dry Ingredients
In a large bowl (or stand mixer bowl), whisk together the flour, psyllium husk, xanthan gum, and salt. Ensure it is well combined so there are no pockets of gum.
3. Combine Wet and Dry
Pour the frothy yeast mixture, whisked eggs, vinegar, and oil into the dry ingredients.
4. Mix Thoroughly
If using a stand mixer, use the paddle attachment (not the dough hook—remember, this is a batter). Beat on medium-high speed for 3–5 minutes. This is vital to hydrate the psyllium husk. The mixture should look like thick, sticky porridge. It will not form a smooth ball like wheat dough.
5. The Rise (Proofing)
Grease a 2lb loaf tin generously. Scrape the dough into the tin and smooth the top with a wet spatula (water prevents sticking). Cover loosely with oiled cling film or a shower cap.
Place in a warm, draught-free spot for 45–60 minutes. The dough should rise to just above the rim of the tin. Do not over-proof or it will collapse in the oven.
6. Bake
Preheat your oven to 200°C (180°C Fan / 400°F / Gas Mark 6).
Bake the loaf for 50–60 minutes.
Tip: The crust should be deep golden brown. If you tap the bottom of the loaf, it should sound hollow.
7. Cool
Turn the loaf out onto a wire rack immediately. Wait until it is completely cool before slicing. Slicing warm gluten-free bread ruins the texture, making it gummy.
Bread Maker Method
Many of our customers ask for a gluten free bread recipe for bread maker machines. You can use the exact ingredients listed above with a slight method adjustment:
- Liquids First: Add the water, whisked eggs, vinegar, oil, and sugar into the bread pan.
- Dry Next: Carefully spoon the flour, salt, xanthan gum, and psyllium on top of the liquid.
- Yeast Last: Make a small well in the flour pile and add the yeast (keep it away from the liquid initially).
- Settings: Select the “Gluten Free” setting on your machine. If your machine lacks this, use a “Rapid Bake” or “Quick” setting.
- Crucial: Gluten-free bread only needs ONE rise. Standard settings do two rises (knock-back), which will destroy the structure of gluten-free dough. Ensure the cycle only mixes, rises once, and bakes.
- Check: Once the mixing cycle ends, open the lid briefly to scrape down the sides with a spatula, ensuring all flour is incorporated.
No Yeast Quick Bread Method
Sometimes you need bread fast, or perhaps you cannot tolerate yeast. This gluten free bread recipe no yeast uses chemical raising agents (soda) instead of biological ones (yeast). The texture is denser, more like an Irish Soda Bread.
Adjustments to the main recipe:
- Remove: Yeast, Sugar.
- Add: 1 tsp Bicarbonate of Soda (Baking Soda) AND 2 tsp Baking Powder.
- Liquid swap: Swap the water for Buttermilk or a mix of dairy-free milk + 1 tbsp lemon juice. The acid is required to react with the soda.
Method:
Mix dry ingredients (including soda/baking powder). Mix wet ingredients. Combine quickly—the reaction starts immediately! Get it into the tin and straight into a hot oven. Do not let it sit or proof. Bake for 45-50 minutes.
Pro Tips From a Gluten-Free Bakery
At Macderic Bakers, we bake hundreds of loaves. Here are our insider secrets:
- The “Wet Spatula” Trick: Gluten-free dough is incredibly sticky. Never use flour to handle it. Keep a bowl of water nearby and dip your spatula or hands in it to smooth the top of your loaf perfectly.
- High Heat Start: If your oven allows, blast the bread at 220°C for the first 10 minutes, then turn it down to 200°C. This creates “oven spring,” pushing the loaf up quickly before the crust sets.
- Room Temperature Ingredients: Cold eggs or cold water can shock the yeast and retard the rise. Ensure everything is room temp (except the water, which should be warm).
- Don’t Fear the Dark Crust: Gluten-free flours don’t brown as easily as wheat. If you take it out when it looks “light gold,” the inside is likely still wet. Aim for a deep, rustic brown.
Common Mistakes & Fixes
Why is my bread gummy in the middle?
You likely sliced it while it was warm. As the bread cools, the starches set and the moisture redistributes. Alternatively, you may not have baked it long enough. If the crust is browning too fast, cover it with foil and keep baking.
Why did my bread collapse?
This is usually over-proofing. If the yeast works too hard and creates too much gas before the structure sets in the oven, the balloon pops. Next time, reduce rising time by 10 minutes.
Why is my bread like a brick?
Your yeast may have been dead (old or water too hot), or you added too much flour. Did you scoop the flour with the cup? This compresses it. Always weigh your ingredients.
Storage, Shelf Life & Freezing Gluten Free Bread
Gluten-free bread stales faster than wheat bread because it lacks preservatives and natural oils found in wheat germ.
- Countertop: Store in a bread bin or cloth bag for up to 2 days. Do not store in the fridge; the cold temperature accelerates starch retrogradation (staling).
- Freezing: This is the best method. Slice the entire loaf once cooled. Place slices of baking parchment between the bread slices to stop them sticking, and freeze in a sealed bag.
- Reviving: Toast the frozen slices directly. This brings back the crunch and soft interior perfectly.
Serving Suggestions
- The Classic Toast: This bread toasts beautifully. Serve with lashings of butter and homemade jam.
- Savoury: Excellent for dunking in soup. The robust structure of the psyllium means it won’t dissolve in your tomato soup.
- Sandwiches: Because this recipe uses eggs and oil, the bread is flexible enough for sandwiches without cracking, provided it is fresh (day 1 or 2).
Nutrition Information
(Estimates per slice, based on 12 slices per loaf)
- Calories: Approx. 140 kcal
- Carbohydrates: 28g
- Protein: 3g
- Fat: 3g
- Fiber: 3g (High due to Psyllium)
- Allergens: Contains Eggs. (Can be made dairy-free easily by using oil instead of butter).
Frequently Asked Questions
Can I make this recipe dairy-free?
Absolutely. The recipe calls for oil or butter. Simply use vegetable oil, olive oil, or a dairy-free melted spread. If doing the no-yeast version, use a plant-based milk mixed with lemon juice to create “buttermilk.”
Why do I need xanthan gum AND psyllium husk?
While you can bake with just one, using both provides the best texture. Psyllium gives the dough elasticity and chew, while xanthan gum acts as the binder to stop it crumbling. Together, they are the power couple of gluten-free baking.
Can I use a generic “All Purpose” GF flour?
You can, but results vary. “Bread Flour” blends usually contain more protein or binders specifically for yeast baking. If using plain GF flour, you must ensure you add the xanthan gum listed in the recipe.
Is fresh yeast better than dried?
Fresh yeast is wonderful, but harder to find. If using fresh yeast, double the weight (use 20g instead of 10g dried). Crumble it into the warm water/sugar mix just the same.
Can I substitute the eggs?
Eggs provide significant structure. You can try using “flax eggs” (ground flaxseed mixed with water) or aquafaba (chickpea water), but the loaf will likely be denser and may not rise as high.
How do I know when the dough has risen enough?
Don’t watch the clock; watch the dough. It should have increased in volume by about 50-70% and look puffy. If you poke it gently and the dent stays, it is ready. If it springs back immediately, it needs more time.
Need High-Quality Gluten-Free Baked Goods Delivered?
We hope this recipe helps you fill your home with the scent of fresh bread. However, we know that sometimes life is too busy for proofing and baking.
At Macderic Bakers, we take the hassle out of gluten-free living. From our artisan loaves to our famous oat-based pastries and cakes, we bake fresh in Albrighton and ship across the UK. Visit our online shop to have delicious, coeliac-safe treats delivered straight to your door.